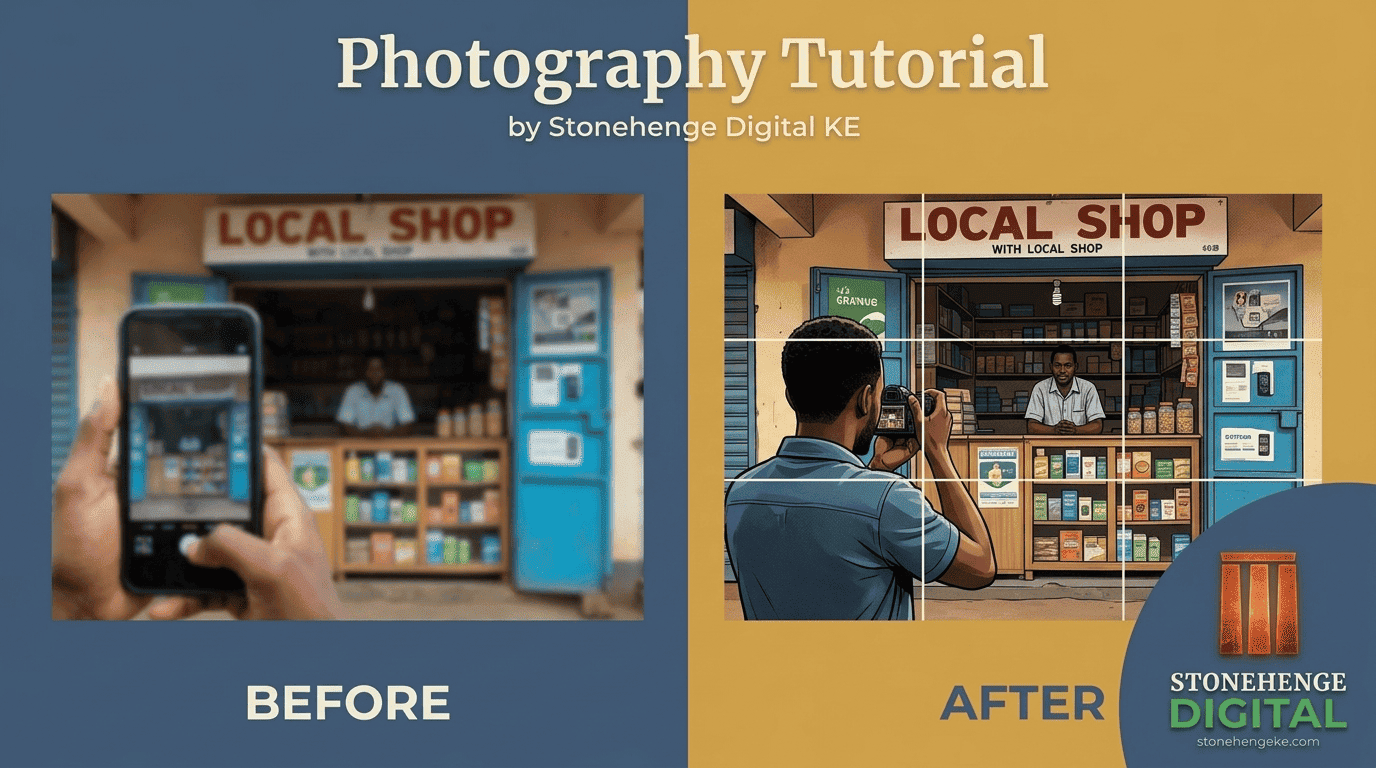
Your Phone Is Enough
You do not need a Canon DSLR or a rented studio. You need a smartphone, natural light and this tutorial. The photos on your website are your first impression.
Blurry, dark or obviously stock photos destroy trust instantly. Here is how to shoot professional quality business photos with the phone already in your pocket.
Step 1: Find the right light
Light is everything. Bad light cannot be fixed by editing, no matter how good the app. Choose the right moment and the right position before you take a single shot.
Soft, repeatable daylight
- Natural daylight from a window
- Open shade outdoors
- Between 8 AM and 10 AM
- Between 4 PM and 6 PM
- The sun is softer and shadows are gentle
Light that ruins a good shot
- Harsh midday sun with hard shadows
- Fluorescent office lights with a green tint
- Direct camera flash, flat and unflattering
- Mixed light from several sources
Where everyone stands
Position your subject facing the window, not with their back to it. You, the photographer, should stand between the subject and the window, shooting toward them.
Step 2: Clean your lens
The most common cause of a blurry photo
This sounds silly, and it is the single most useful tip in this whole tutorial. Wipe the lens with a soft, clean cloth before every session. Not once a month, not when you remember. Every session.
Step 3: Shoot your subjects
A confident person, not a posed smile
- Stand your subject in open shade or facing a window.
- Use portrait mode if available, but step back slightly so the edges are not blurred unnaturally.
- Shoot from slightly below eye level, which makes the subject look more confident.
- Ask them to do something natural: holding a tool, looking at a screen, talking to a colleague.
- Take at least 20 shots. You will pick the best one.
Real activity, not a lineup
- Do not say everyone smile at the camera. Ask the team to work on something real.
- A whiteboard discussion, a delivery being packed, a client being served.
- Shoot from multiple angles and distances.
- Move around. The best shots often come from an unexpected angle.
- Try over the shoulder and from the side, not only straight on.
Clean background, honest light
- Place the product on a clean, neutral background. A white sheet, a wooden table, a plain wall.
- Shoot in natural light, and use a white paper or bedsheet as a diffuser if the light is harsh.
- Shoot from multiple angles: front, side, top and in use.
- Include a scale reference such as a hand or a ruler so buyers understand size.
- Shoot at least 5 photos per product.
Show the place people will actually visit
- Shoot at an angle, not directly front on. Angles are more dynamic.
- Include one or two people in the shot for scale and life.
- Make sure the signage is clean and clearly visible.
- Shoot during the day, when the light is even.
- Take a second shot from across the street, so the surroundings are understandable.
Step 4: The golden rule of composition
Place the subject off centre
Turn on the grid in your camera settings. Place your subject along one of the grid lines rather than dead centre. Also keep the horizon level. Nothing says amateur like a tilted photo.
Step 5: Quick free editing
Three apps worth having on your phone
Editing checklist
- Adjust brightness and contrast so the image looks crisp
- Increase saturation slightly so colours pop, but do not overdo it
- Crop to a consistent aspect ratio such as 16:9 or 4:3 for website consistency
- Never over edit. Natural is better than fake.
Your 30 minute photo session plan
A repeatable session you can run every quarter
That is it. You now have enough professional content for your website, social media and marketing materials. Repeat every three months to keep your visuals fresh.
A quick check before you upload
- The subject is facing the light, not backlit
- The lens was clean before the session started
- The horizon is level and the frame is not tilted
- The subject sits off centre, not dead in the middle
- At least one scale reference appears in product shots
- Every image has been cropped to the same aspect ratio
- Nothing has been edited so heavily that it looks unnatural
Your phone is enough.
Natural light, a clean lens, an off centre subject and a light touch in editing will beat an expensive camera used badly. Shoot the session, choose the best frames and repeat it next quarter.
Want a second pair of eyes?
Stonehenge Digital can review your photos, suggest which ones belong on your homepage and show you where the lighting or framing is working against you.
Get Feedback on My Photos →Interested in Portfolio & Organisational Website?
Let's build this for your business
A professional, mobile-first website that makes your business look credible and gets found on Google.